 RSS Feed
 Twitter
 May 13, 2024
 PATRICK JAMES
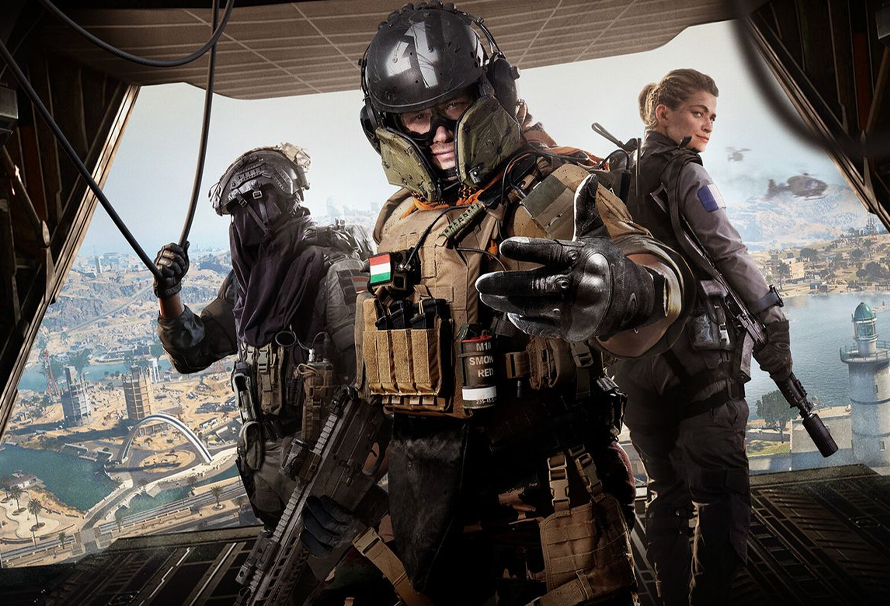
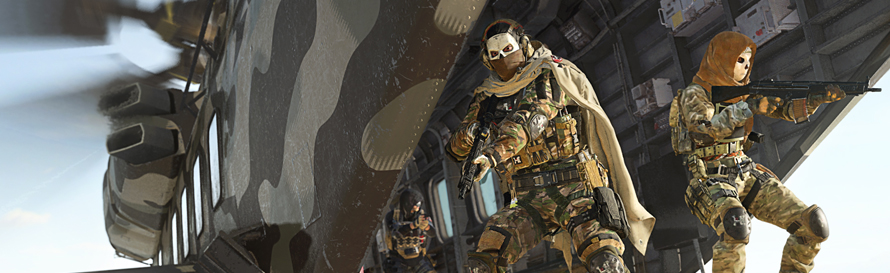
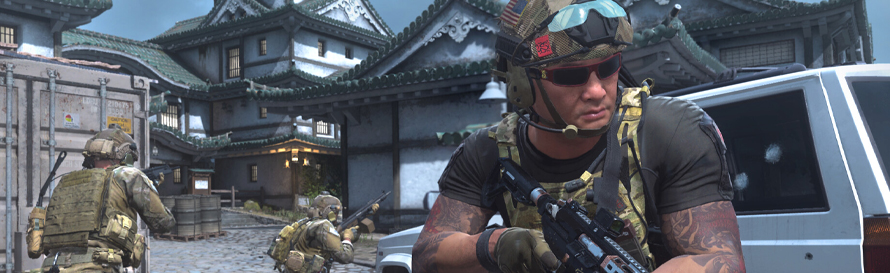
Call of Duty: Warzone 2.0 Tips & Tricks – How To Start Winning
Make Sure Your Settings Are Correctly Optimised
Before you even start a match, it’s important that your Warzone 2.0 experience is tailored to provide the best technical experience possible. Though there is to a veritable smorgasbord of options and settings to mess about with, you should seek to tailor your settings in order to provide the best sweet spot of the smoothest frame rate, and most responsive experience possible. Though this largely depends on the quality of your PC build, some fundamental settings can be adjusted to improve your experience regardless.
For a start, you should seek to increase your field of view (FOV) from the default 90 value. Though it’s ultimately down to personal preference, cranking that up to around 110 provides a suitably wider perspective that makes you better equipped to detect threats on your periphery. Elsewhere, turning off both world and weapon-based motion blur ensures that when you’re traversing the environment at speed, you’re doing so with a resolutely sharper and smoother image, allowing you to pick out targets during movement. Perhaps one of the most crucial settings to get right is not only correctly identifying the level of sensitivity for your mouse or controller, but also ensuring that the ADS sensitivity multiplier is set to around 0.90, as this will provide the optimum level of sensitivity when snapping to scope or sights and attempting to take down distant enemies.
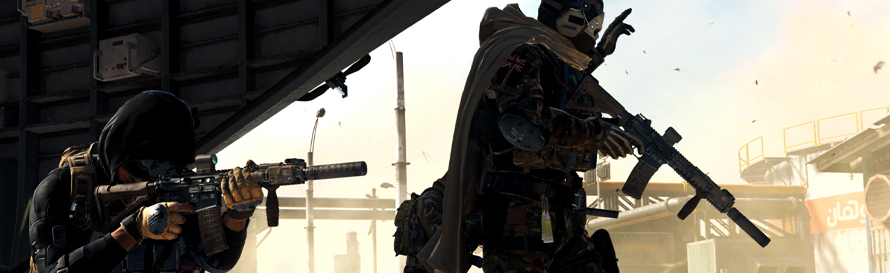
Communication And Good Pinging Is Essential
hough it might seem obvious, I cannot stress enough how crucial good communication is in Warzone 2.0 when you’re part of an active squad. Arguably, a big part of this is not only calling out to your fellow teammates when you spot an enemy or a loadout drop but making sure you ping both of these as soon as you see them too, since doing so provides broader tactical coverage of the battlefield than a single player would be able to enjoy on their own. See something? Ping it, call it out and the team will be better equipped to deal with the situation. It’s as simple as that.
though
Don’t Leave Your Team
Again, though this also seems self-explanatory, sticking with your team is essential to success. To be clear, in team-based modes your success will directly correlate to how rigorously you stick with your team, after all having someone to cover your flank and provide a broader surveillance of the battlefield are advantages that you simply wouldn’t have as a lone player. Additionally, if you find yourself particularly flush with resources, such as having surplus armor plates, drop them for your teammates so that everybody can benefit and as a general rule, dividing up cash and ammo during a match on the fly is also a good idea since it’ll keep the team well supplied and in a more robust position as the match reaches the later stages.
Scout Out Your Landing Zone
Knowing exactly where you are going to touch down at the beginning of a match is a crucial factor that will determine the first five minutes that will follow as soon as you land. By looking at the map of the battlefield just after the initial cutscene plays, you should scout out the optimum place to land which takes into account the shrinking radius of the gas circle.
Pointedly, this is something that you’ll get better at as your knowledge of each map improves since you’ll instinctively know which buildings and areas provide the best places to gather your wits immediately after landing. Likewise, if you’re playing in a squad, wherever you land should be agreed with your fellow players to ensure that you kick off the match in the most coordinated way possible.
Cutting And Re-popping Your Parachute Makes You Reach The Landing Zone Quicker
A weird mechanic that has been around for a while now is the ability to cut your parachute cord, which then results in your falling speed massively increasing, only to then ‘re-pop’ it to allow you to steady your descent (and not crater yourself to boot). When this parachute cutting and re-popping is used frequently in tandem, it essentially allows you to reach your chosen landing area far quicker than other players who simply wait for their parachute to gently drift them there.
Loadouts Are A Must-Have
The overriding benefit of having custom load-outs is that they allow you to immediately slip into a pre-calibrated configuration of equipment and perks that you’ve tailored to your own personal preferences. Though you can nab these for free from the numerous loadout drops that occur around the map, these tend to be heavily fought over you should you should us your cash reserves to instead grab them from the Buy Stations which will be far less hotly contested.
Patience Is Keyuse
Though your overriding instinct will be to open fire at an enemy that you might see at range, it’s good practice to temper this. The rationale for this is simple – if you don’t resist that urge, the chances that you’ll score a knockdown or a kill will be far less than would be possible at a closer distance, meaning that not only would you likely fail to neuneutralizetralise the threat, but you’ll also alert them (and any nearby foes) to your location in the process. Thus, it makes sense to only open fire on an unaware target when you’re at a comfortable enough range that you’re certain the outcome will be in your favor.
Grab Bounty Contracts Wherever You Find Them
With cash driving the in-game economy of Warzone 2.0, which in turn allows you to purchase much-needed supplies and load-outs from Buy Stations, early in a match it’s certainly worth grabbing any contracts whenever you come across them since each contract provides a welcome boost to your in-game funds.
Though each contract has its own risk/reward ratio depending on the danger involved, the bounty contracts are by far the best ones to scoop up since not only do you get a (smaller) reward if someone else on your team completes one, but so too do they give you essentially free surveillance on an enemy even if you do nothing.
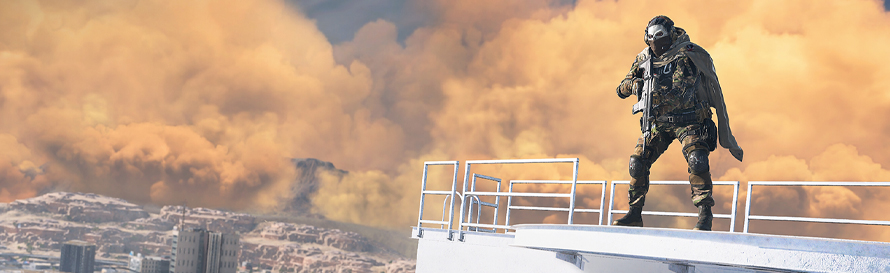
The Gas Mask Is Invaluable In The Late Game
By far one of the most valuable tools you can collect in Warzone 2.0 is the gas mask, not least because of how it can tremendously tip odds in your favor when the gas circle becomes hugely constricted in the late game. At this point, players who don’t have gas masks tend to panic and throw caution to the wind as they rush to keep themselves within the ever-encroaching gas circle, leaving themselves vulnerable to a quick kill by anybody enterprising enough to still be using this most valuable of tools. Be warned though, the gas mask has a level of integrity that will decrease not just when you’re using it, but also when it’s stowed away in your inventory too. As such, you’ll want to keep a keen eye on this to ensure that the gas mask has sufficient integrity remaining when you come to use it.
Death Is Not The End
In Warzone 2.0, being dropped in a pool of your own claret isn’t necessarily the end of the road and there are multiple ways for you to get back into the game. Firstly, you can use a self-revive kit to get back into the action quickly – though this will only work if your killer is distracted enough to not notice you crawling away to do this.


0 $type={blogger}:
New comments are not allowed.